Best practices for maintaining Joomla website - part 3
Manage testing / staging servers before Live Deployment
Testing environments provide an easy and reliable way to test new releases of Joomla, components, plugins, templates, UI OR UX related changes, performance related tasks or even small html or css changes without breaking your live site.
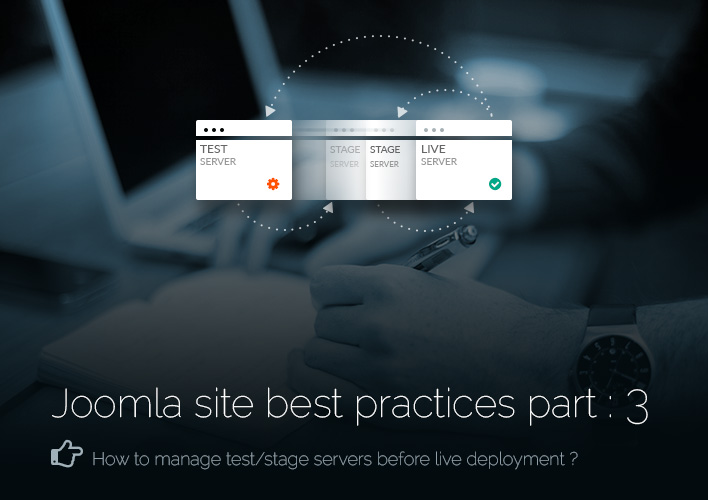
These testing environments can be your localhost, a testing server, a staging server, or a live / production server. As there are plenty of ways to test your site but we recommend to clone your site and then play your shots. Practically, it's very important to do thorough testing before committing changes to your live site.
You can test everything using the live website itself. But it's not recommended, no matter how experienced you are. A simple misspelling can result in the site getting locked.We recommend our users to have both servers ie test server and stage server. Update all your changes to your test server.Once you are done and satisfied in test server then upload it to stage server.
Donât think to directly move your site from test server to live/ production server.
As it may happened that something things works at test server and not on your live server due to not having same configuration as of live server ?
Here Stage server comes into role which will help you to protect from various loss.
Itâs suggested to do experiments either at test site or stage site. Can easily create with backup of your live site.
Therefore you should always create 2 servers for testing changes.
-
Test Server : A testing server is a separate development server. Everything which you have developed on your development machine, should be uploaded to test server. If changes works as expected you can be sure of your changes will work. This server is also considered as development server where all the development tasks get reflected.
Tasks performed at Test Server :-
- Publish new and changed content
- Test changes
- Approved contents move to staging server
Once you have thoroughly tested your site, you can then roll out changes to your stage site.
-
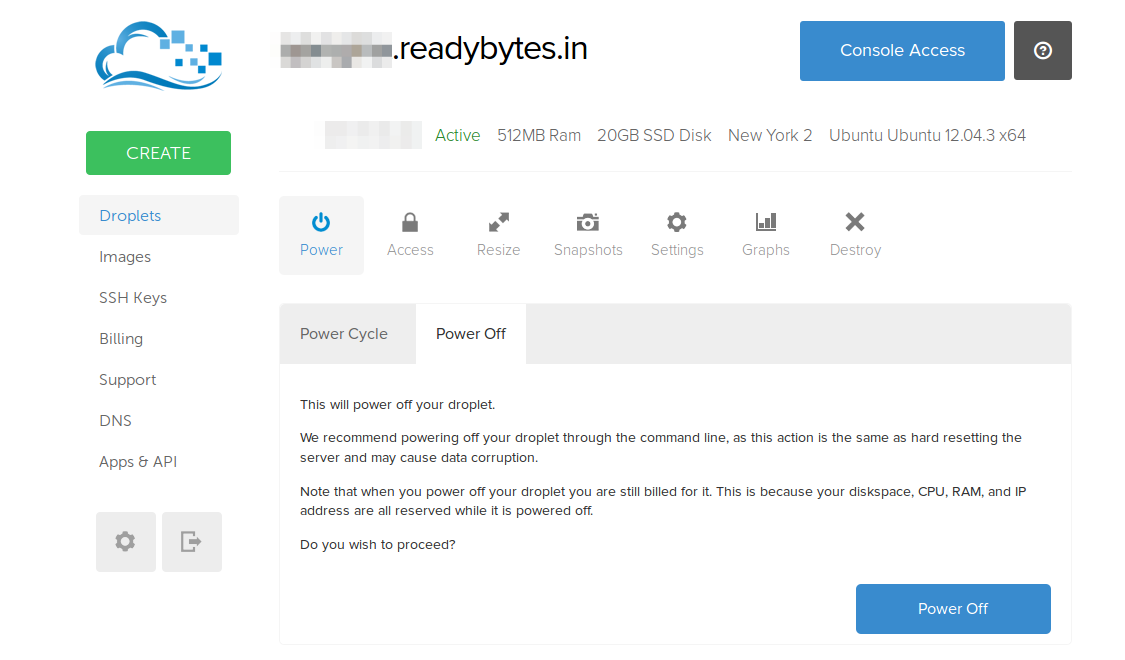
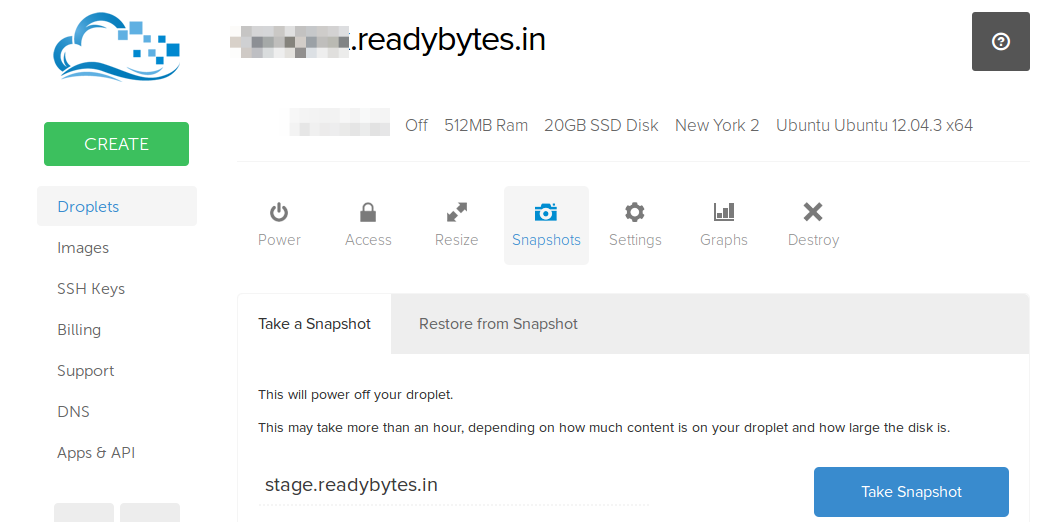
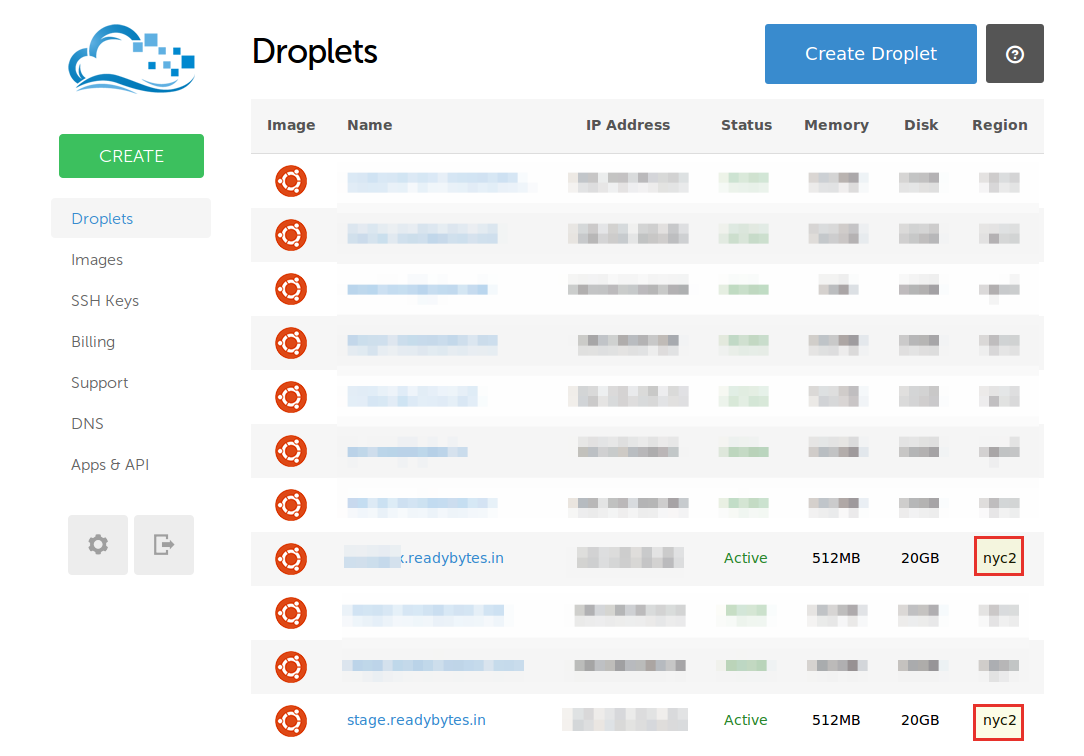
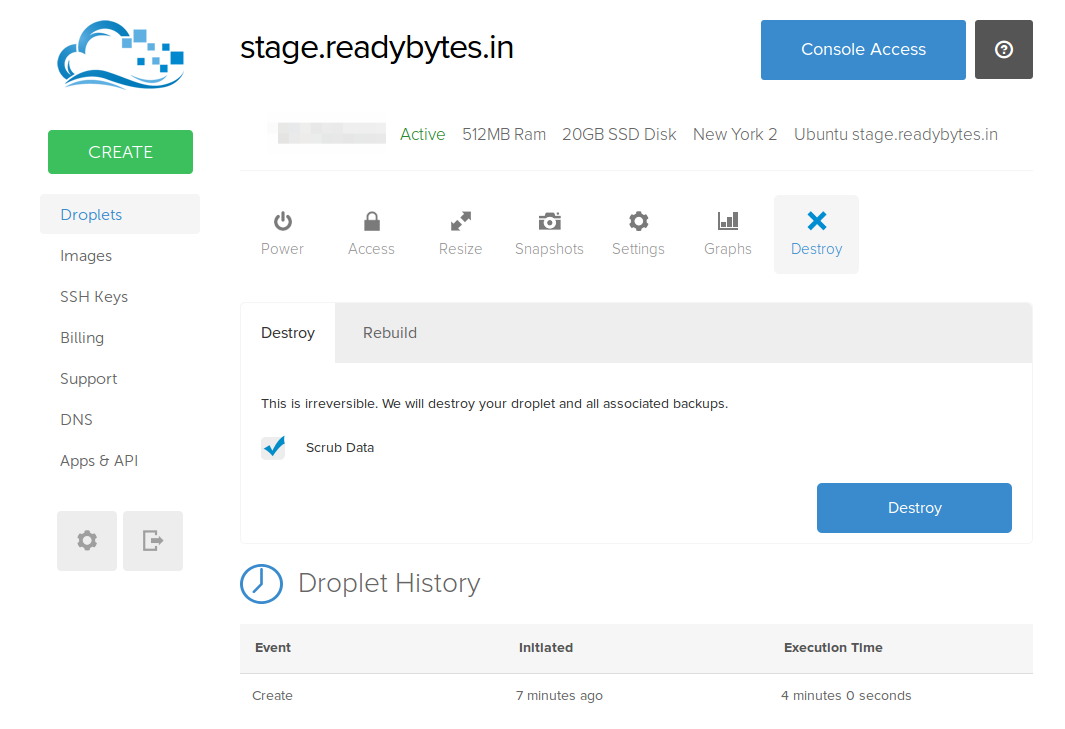
Stage Server : A staging site is generally a non-development area on your server (usually a sub-domain) with restricted access or a complete replica of your live site.
Complete Replica not just means the clone of site, additionally it includes same services and software used in your live server like same OS/ Apache/ PHP/ MYSQL and other service like cloudflare, htaccess, Ip restrictions (only our static ip allowed to access these type of servers) etc. Overall it should be same or as much like as possible. So, the hardware and software are often mirrored for the staging and live/ production web servers.
In short, it's cloning of Server.
Now you need to test the deployment of changes. Therefore on stage server.
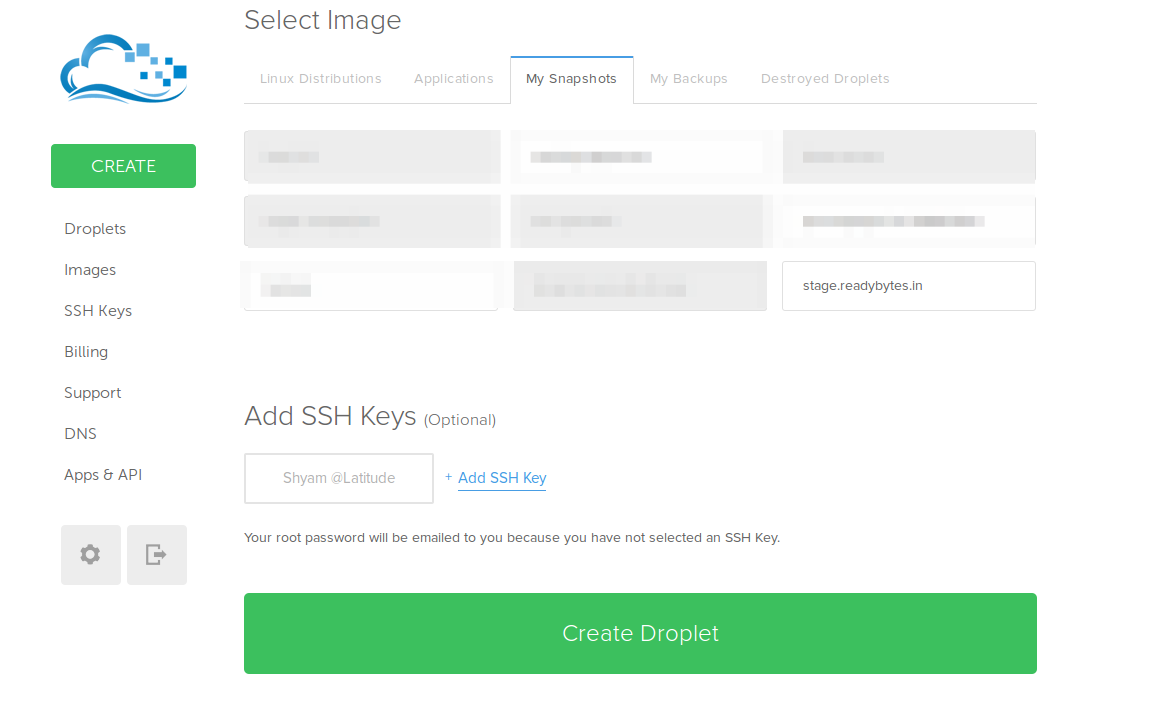
- Clone the live website into stage site.
- Deploy changes.
- Change Email Server (through auto scripts) to mailtrap.io.
- Note-down the process of deploy (call it a checklist).
- Final approvals are received and the entire site is pushed to the live server.
This is generally the last step of website process before moving it to live server.
Some Basic Terminology of Checklist :-
- Stage - Task performed in almost same replica of Live/ Production Server
- Live / Production - Deploy changes in your Live / Production Server
- Done - Task / changes done at respective server
- On Live - Things which can be done directly on Live / Production Server or after changes get deployed in Live / Production Server.
| TASK | Stage | Live/ Production | Comment |
|---|---|---|---|
Pre Live
|
|